


You just bought a Ledger wallet, or you are thinking about it, and you want to know exactly how to get it running without making any costly mistakes. That is a smart place to start, because with crypto, a single wrong step can mean permanent loss of funds. This guide walks you through everything: from unboxing the device to receiving and sending your first transaction. By the end, you will know precisely how to use a Ledger wallet safely and confidently.
What Is a Ledger Wallet, and Why Do You Need One?
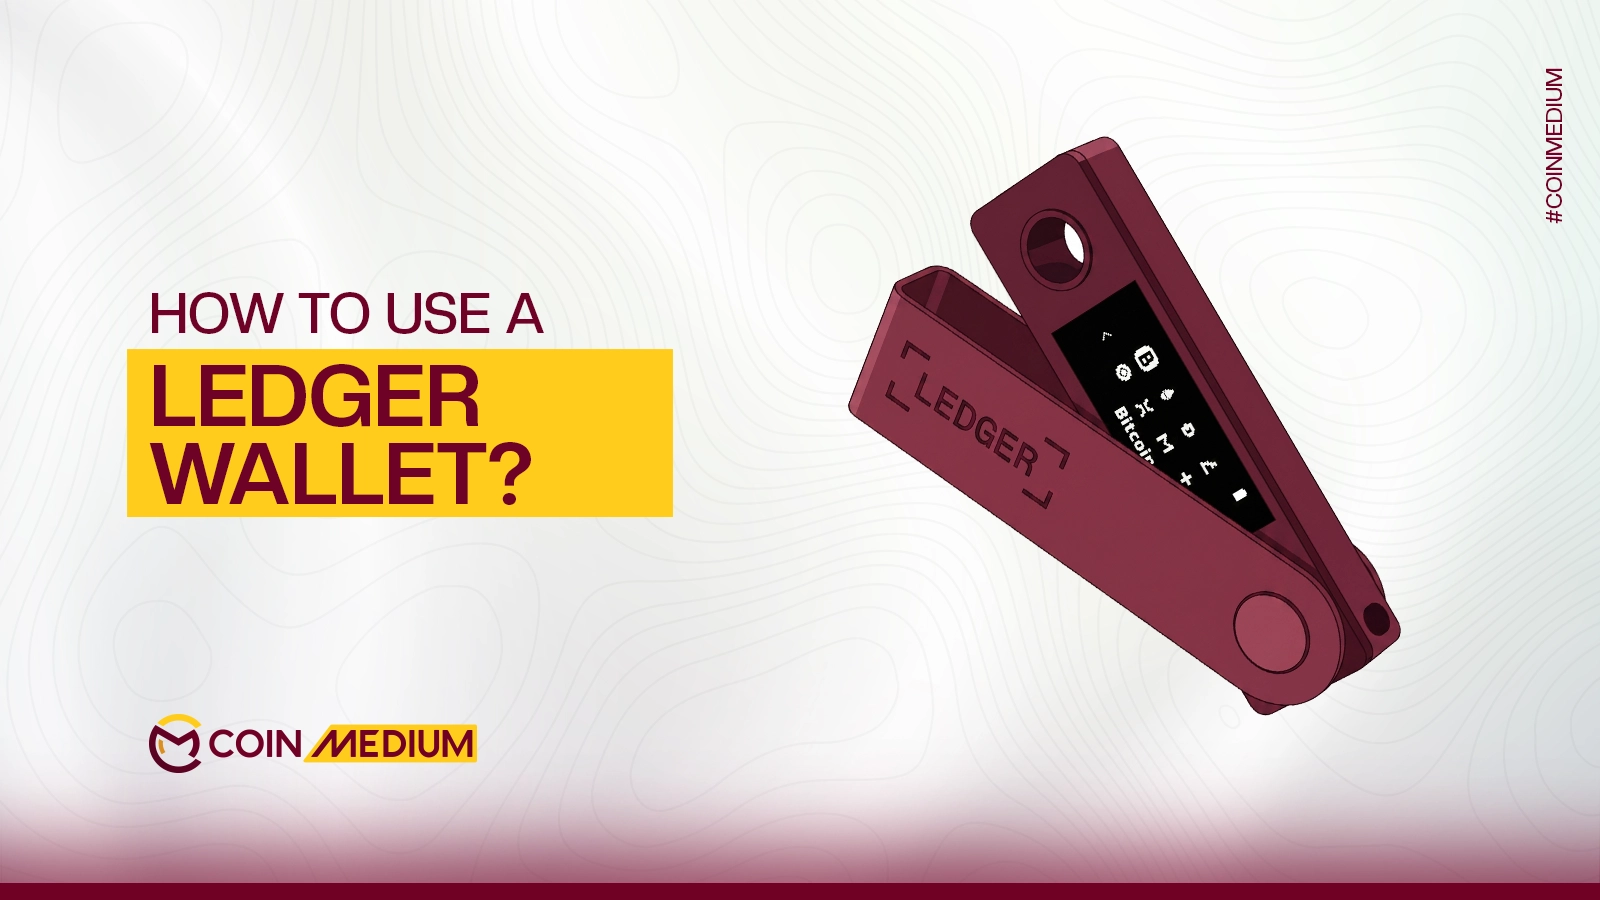
A wallet ledger is a small device where cryptocurrencies are securely saved in private keys. You can consider it as a safety deposit box for your cryptocurrency. Essentially, the funds are on the blockchain, but your private key (the password that unlocks them) –never touches the Internet when stored on a Ledger.
The online factor is critical as most crypto thefts occur online. Online hot wallets, such as MetaMask or Trust Wallet, are very convenient as they are internet-connected but vulnerable. You will incure zero risk with hardware wallets. Once your private keys are taken offline, they cannot be reached by remote hackers.
Ledger, a French company founded in 2014, is the global leader in this space. As of 2024, Ledger has sold over 7 million devices worldwide, and not one of them has ever been hacked. The company currently secures around 20% of all crypto value in the world. Those numbers explain why serious holders reach for a Ledger the moment their holdings grow beyond what they are comfortable keeping on an exchange or in a hot wallet.
Fun Fact: The Ledger Nano S, launched in 2016, is the best-selling hardware wallet of all time. It was the first consumer device to use an integrated Secure Element chip, the same technology found in bank cards and biometric passports.
Which Ledger Model Should You Use?
Ledger has various models for individual users, and the one that is right for you depends on how you plan to use one. Ledger Nano S Plus is the cheapest among the three models and connects to your computer via USB. This option is good for those who generally manage crypto from a desktop. The Ledger Nano X adds Bluetooth connectivity, so you can manage your portfolio from your phone without plugging anything in, a better fit if you move between devices often.
In 2024, Ledger launched the Ledger Flex, a mid-range device with an E-Ink touchscreen at $249, and the premium Ledger Stax, which features a larger curved E-Ink screen, wireless charging, and a co-design by Tony Fadell, the inventor of the iPod. All models work with Ledger Live, the companion app you will use to manage everything.
If you are just getting started, the Nano S Plus covers everything you need. You can always upgrade later as your needs grow.
Before You Start: What to Check Before Turning It On
This step matters more than most guides would tell you. Supply chain attacks occasionally target hardware wallets, where bad actors tamper with a device before it reaches the buyer. Ledger has built-in protections against this, but you still need to do your part.
Always buy directly from ledger.com or an officially authorized reseller. Never purchase a Ledger from eBay, a secondhand marketplace, or an unofficial third party. A cautionary example: one buyer lost over 25,000 GBP worth of crypto after buying a pre-configured Ledger from a middleman. The device looked genuine but had been set up by the seller, who then drained the funds.
When your device arrives, check the packaging, it should be sealed and untampered. Once you power on the device, it should prompt you to set everything up as new, meaning no PIN or recovery phrase exists on it yet. If the device already has a PIN or a pre-filled recovery sheet, stop. Do not use it, and contact Ledger support.
Pro tip: The recovery sheet that comes inside the box should be entirely blank. If there are words on it already, the device has been pre-configured by someone else. This is a known scam tactic. Get rid of the device, and report it to Ledger immediately.
Configuring your Ledger wallet (PIN and recovery phrase)
Press the button or buttons on your device (depending on your model) to turn on your Ledger wallet.
Your PIN is 4 to 8 digits. Choose something random, not your birthday, not 1234, not 0000. The PIN works like a lock on the device: without it, no one can use your Ledger even if they physically have it. After three incorrect attempts, the device resets itself automatically. That sounds alarming, but it is a security feature. If the device resets, your crypto is not gone, you can restore everything using your recovery phrase.
Your recovery phrase is the most important thing in this entire guide. During setup, Ledger will display 24 random words on the screen. Write them down in order on the blank recovery sheet from the box. These 24 words are the master key to your entire wallet. Anyone who has them can access your funds from any Ledger device, anywhere in the world.
Do not photograph the words. Do not type them into your phone, computer, or any cloud-based note-taking app. Do not share them with anyone, including Ledger support, which will never ask for them. Write them down and store the paper somewhere physically secure. Many people keep a second copy in a different secure location as a backup against fire or flood.
Once you have written down the phrase, Ledger will quiz you on a selection of the words to confirm you recorded them correctly. After that, your device is initialized and ready to use.
How to Install Ledger Live and Add Your First Account
Ledger Live is the free companion app that acts as the control centre for your Ledger wallet. Download it from ledger.com/ledger-live, it is available for Windows, Mac, Linux, iOS, and Android. Never download it from any other source.
Once installed, open Ledger Live and connect your device via USB (or Bluetooth if you have a Nano X or newer model). The app will run an authenticity check to verify your device is genuine. This is Ledger’s tamper-detection system at work. If the check fails, contact Ledger support before going any further.
After the check passes, go to the Accounts tab and click Add account. Choose the cryptocurrency you want to manage, Bitcoin, Ethereum, Solana, and so on. Ledger Live will install a small app on your device for each blockchain you add. Think of these like language packs: the Bitcoin app teaches your Ledger how to handle BTC transactions, the Ethereum app covers ETH and all ERC-20 tokens, and so on. You can hold multiple accounts per asset.
With your accounts set up, Ledger Live becomes your dashboard, balances, transaction history, and portfolio performance all in one place.
How to Receive Crypto on Your Ledger Wallet
Receiving crypto on your Ledger is simple. In Ledger Live, click Receive in the sidebar. Select the account you want to credit, for example, your Bitcoin account. The app will display your public address, which is a long string of letters and numbers. This works exactly like a bank account number: share it with whoever is sending you crypto, and funds will arrive in your wallet.
Before you copy or share the address, verify it on your Ledger device screen. The app will prompt you to do this, and you should never skip it. There is a real attack called clipboard hijacking, where malware silently swaps the address on your computer screen with a hacker’s address. When you confirm the address on the physical device, you bypass that threat entirely, the device screen cannot be manipulated by software on your computer.
For your very first receive, send a small test amount first. A few dollars worth of crypto is enough to confirm everything is working before you move a larger sum across.
How to Send Crypto From Your Ledger Wallet
To send crypto, click Send in Ledger Live. Select the account you want to debit, then type or paste the recipient’s address. Double-check it, crypto transactions are permanent and irreversible. Once sent to the wrong address, the funds are gone. Verify at least the first and last six characters of the address before proceeding.
Select the amount, review the network fee, and click Continue. At this point, your Ledger device will display the full transaction details on its screen, recipient address, amount, and fee. You must physically press the confirmation button on the device to authorize the send. This physical approval step is the core of hardware wallet security: even if your computer is entirely compromised, no transaction can leave your wallet without your physical sign-off on the device.
Again, for your first send, test with a small amount. A successful small transaction confirms your setup is correct before you move anything significant.
Essential Security Habits Every Ledger User Should Know
Buying and setting up a Ledger is the beginning, not the end. What keeps your funds safe long-term is how you use it. These habits separate users who stay secure from those who eventually run into problems.
Keep your firmware and Ledger Live updated. Ledger releases regular security patches. In Ledger Live, go to My Ledger and install any available firmware or app updates. Running outdated software leaves you exposed to vulnerabilities that have already been fixed.
Never enter your 24-word recovery phrase anywhere digital. No website, no app, no form, no support agent will ever legitimately need it. If anything or anyone asks for your recovery phrase, it is a scam, without exception.
Be careful about approving transactions on DeFi platforms or NFT marketplaces. Where possible, use Ledger’s Clear Signing feature, which translates the raw smart contract data into readable text on your device screen so you know exactly what you are approving. Blind signing, approving a transaction whose contents you cannot read, is how many hardware wallet users still lose funds.
Finally, if you ever lose or break your Ledger, do not panic. Your crypto is not inside the device, it is on the blockchain. Get a new Ledger, restore your wallet using your 24-word recovery phrase, and you are back to where you were. Your funds will still be there.
Our Verdict
Learning how to use a Ledger wallet is one of the smartest investments you can make as a crypto holder. The setup takes less than an hour, Ledger Live is genuinely beginner-friendly, and the security upgrade over a hot wallet or exchange is enormous. Write down your recovery phrase carefully, confirm every address on the device screen, never share your seed words, and you will have a setup that millions of users around the world trust with their real wealth.


