


- What is MetaMask wallet and how you can install and use it on your computer or smartphone.
- Easy and hassle free way of storing your Ethereum based cryptocurrencies in MetaMask.
- Pro security tips to use MetaMask safely and mistakes to avoid while creating the wallet.
- Reasons why non custodial wallets like MetaMask are better than using custodial wallets.
If you’re familiar with self-custody in crypto, you’ve likely heard of MetaMask—the most popular cryptocurrency wallet for storing and transacting in ETH, Ethereum-based cryptocurrencies, as well as EVM chains and EVM-based tokens.
Before we dive into what MetaMask wallet is, let’s understand what self custody of cryptocurrency means?
So, when you buy and sell cryptocurrencies via a centralized exchange, your holdings are held in the exchange. In the case of self custody, you essentially transfer your crypto from the exchange into a wallet that can be controlled by you and nobody else. To learn more about, check our article about Hot Wallet and Cold Wallet.
In this article we will take you through the process of installing MetaMask and creating your wallet. PS: We will keep it short and fun.
What is MetaMask?
MetaMask is a non-custodial cryptocurrency wallet that enables you to store, receive, and send ETH, Ethereum-based tokens (such as Uniswap and Chainlink), as well as EVM chains and EVM-based tokens.
So, you can install the MetaMask extension in your browser or you can choose to download the app on your phone. Whatever option is more convenient you can choose that.
How To Download the MetaMask Extension In Your Browser?
To install MetaMask in your browser, simply visit the official MetaMask website. Before you download an extension, always make sure you check the url and download it from the right website.
Visit MetaMask.io and click on the Get MetaMask tab.
Next, click on Add to Chrome to install the extension.
Next, click on Create a new wallet.

Next, create a strong password. Use an alphanumeric combination along with special characters. Don’t use words that are easily guessable.
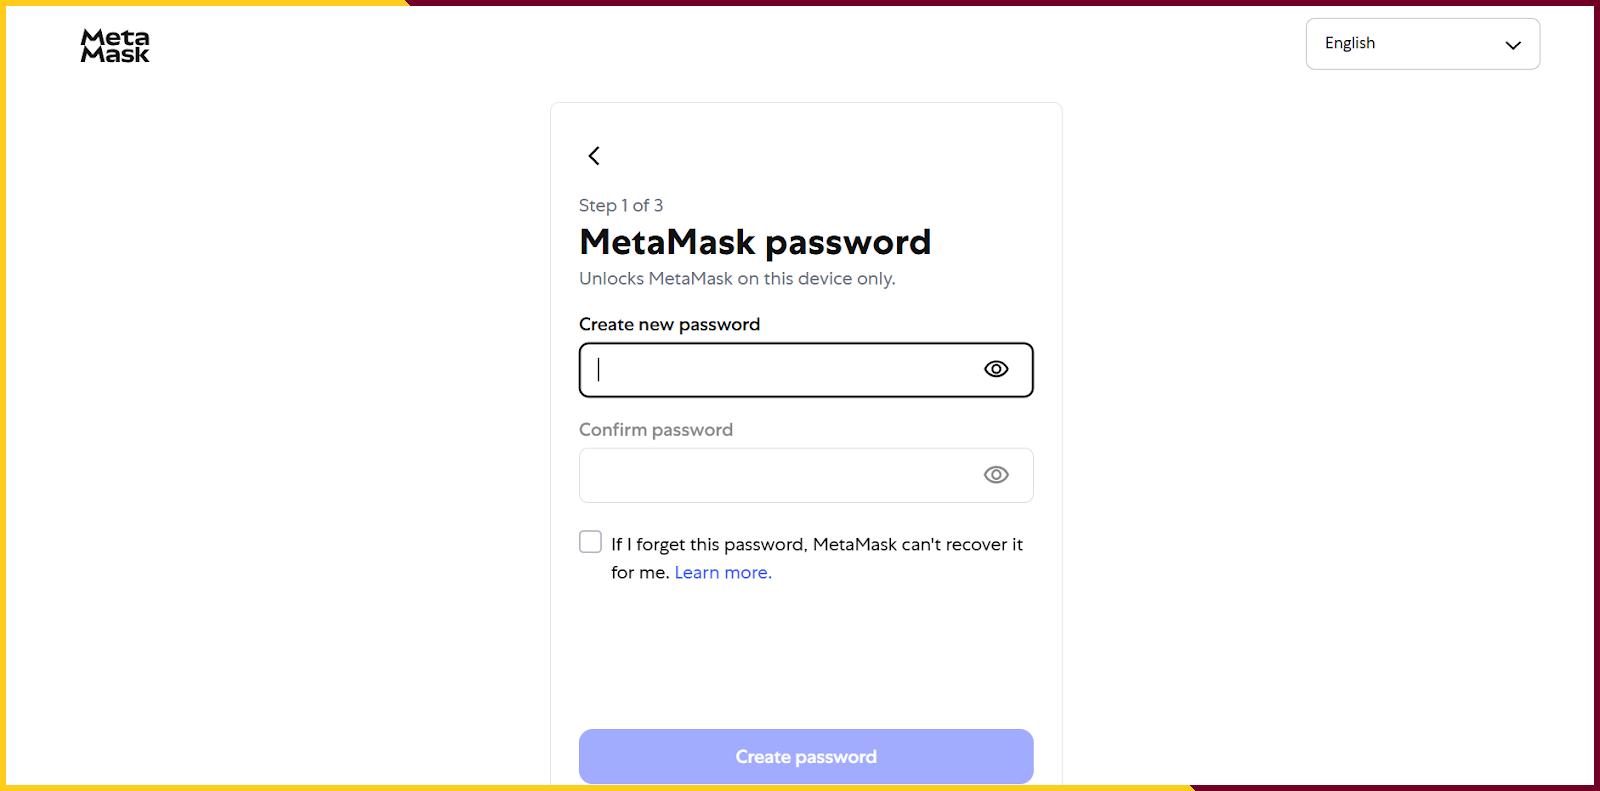
Now, checkmark If I forget this password, MetaMask can’t recover it for me. Also, if you forget your password, you will have to reset your wallet using the 12-word seed phrase.
Next, click on Get Started.

After, click on Get started.
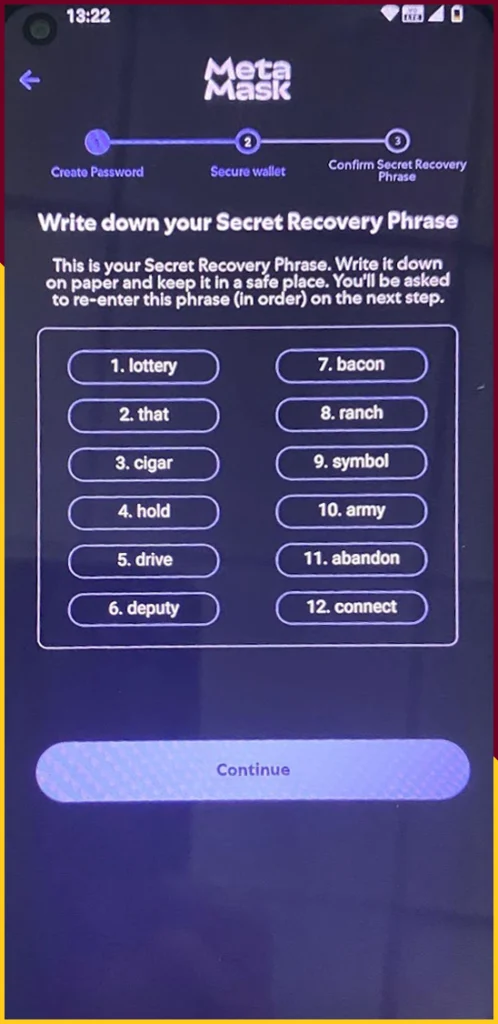
MetaMask will give you a 12 word seed phrase which is your master key to your wallet. Without this, you will not be able to get access to your wallet.
The screenshot below shows how the 12-word seed phrase appears.

So to ensure you have access to your crypto funds at all times, make sure you have seed phrases written and stored in a secret place. Never store your passwords and seed phrases digitally.
Always pencil down your seed phrase and password on a piece of paper and store it in a dry and safe place. Avoid using ballpoint pens as it may smudge.
Additionally, never store your passwords and seed phrases using your phone camera. Also, avoid cloud syncing your passwords.
Next, MetaMask will ask you to click on the words according to its number sequence. Take a look at the screenshot below to understand better.

Once you click on the right words, MetaMask will confirm your wallet creation. Make sure that you have double checked the seed phrase as it is extremely important. If you lose your seed phrase you lose access to all your funds and no one can recover the seed phrase for you. Hence, it’s called self custodial. You are the super human here.
With great power comes great responsibility, right?
Pat yourself, because you’re leveling up in crypto by moving to a non-custodial wallet from a custodial wallet setup.
How To Install MetaMask On Mobile?
How to Install MetaMask on Android
To install and use MetaMask wallet on Android, simply click here.
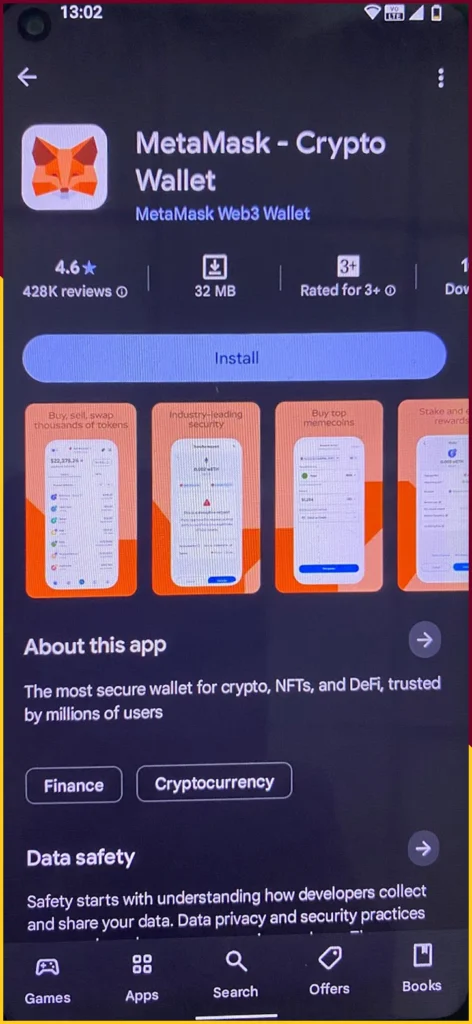
Click on Install
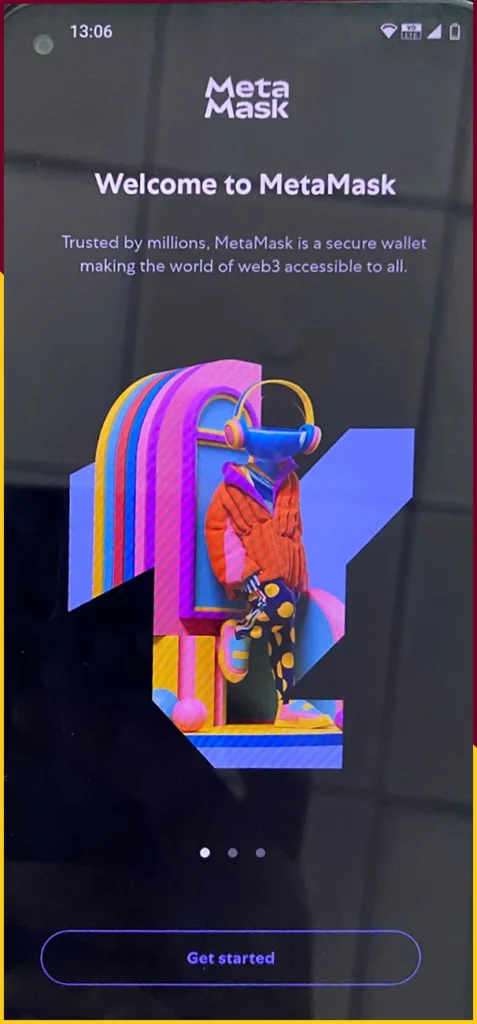
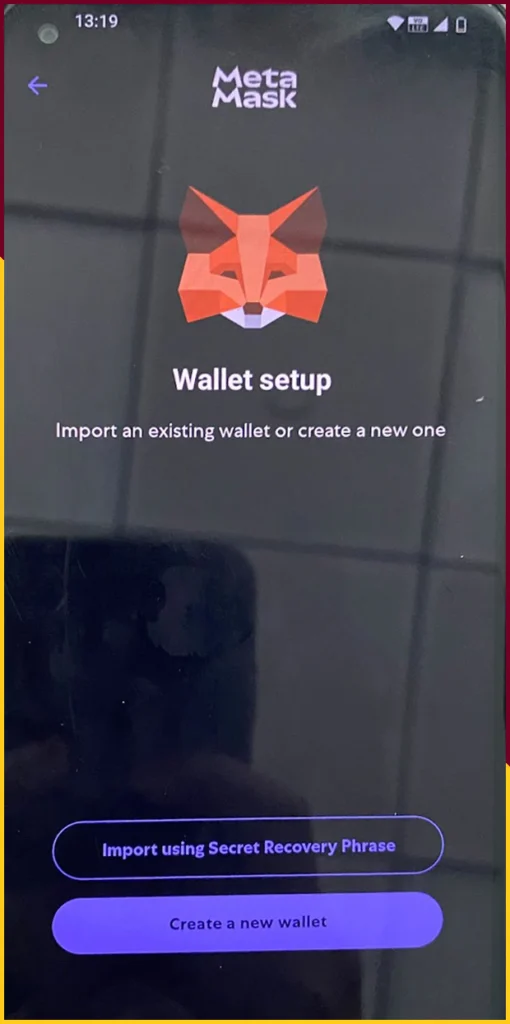
Next, click on Get started.
Next, click Create a new wallet
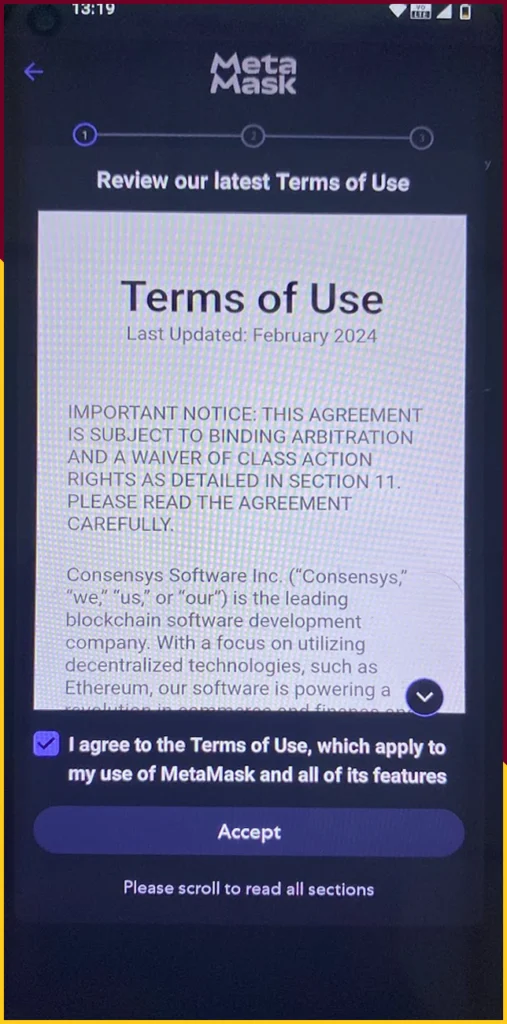
Next, Click on I Agree

Next, Read the Terms and Conditions and Click on Accept
Next, create a new password. Create a strong password by using a combination of lower case letters, uppercase letters, special characters and numbers.
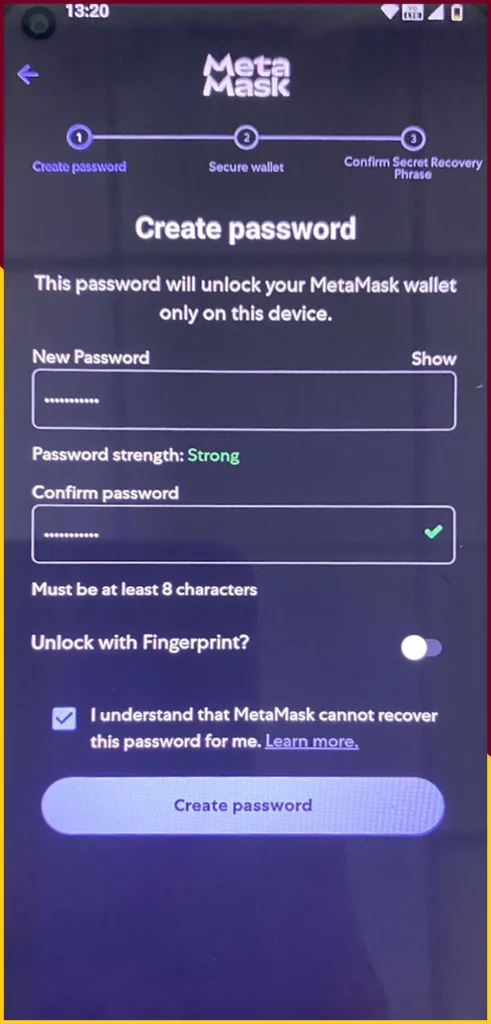
Now, click on Create Password
Next, click on Start to create your seed phrase. Note that this is a crucial step in creating your wallet.

Next, secure your wallet by clicking on Start
Next, take a piece of paper and pencil and write down the 12 word seed phrase clearly and double-check the spelling and sequence of the words.
Once done, click on Continue
Next, type in the missing words in the seedphrase and click on continue
Congratulations, you have successfully set up your MetaMask wallet on your android device.
Following are the steps to install and create your MetaMask wallet on iOS mobile devices.
How to Install MetaMask on iOS
To install and use MetaMask wallet on iOS, simply click here.
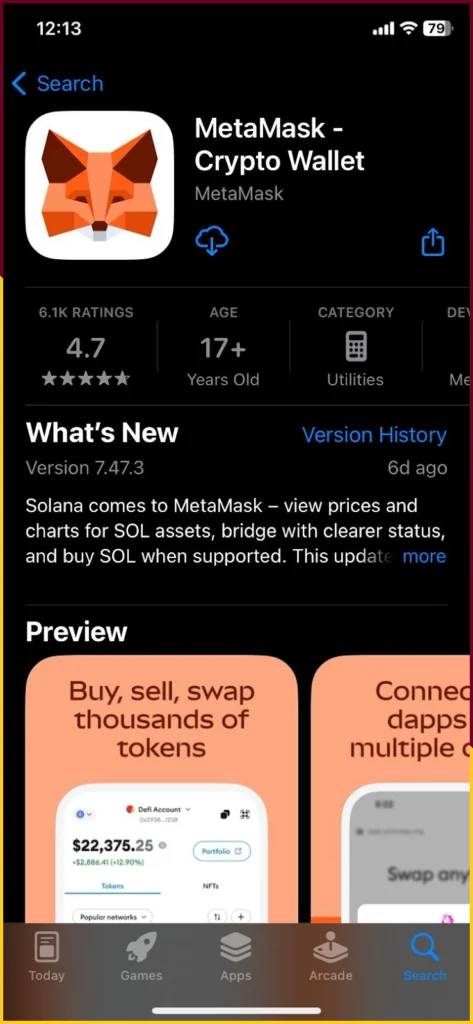
Click on the download icon. (as seen in the screenshot above)
Next, click on Get Started

Next, click on Create a new wallet

Next, click on I Agree
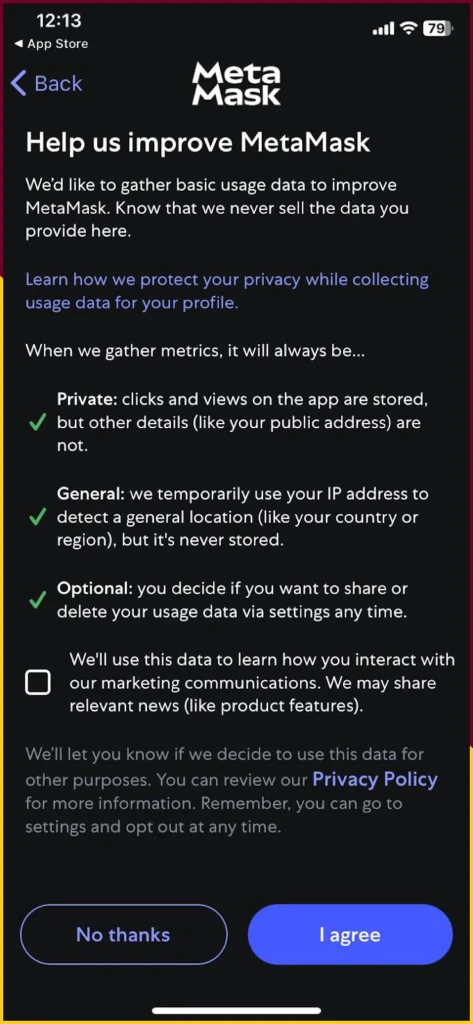
Next, Read the Terms of Use and click on Accept

Next, secure your wallet by clicking on Start.
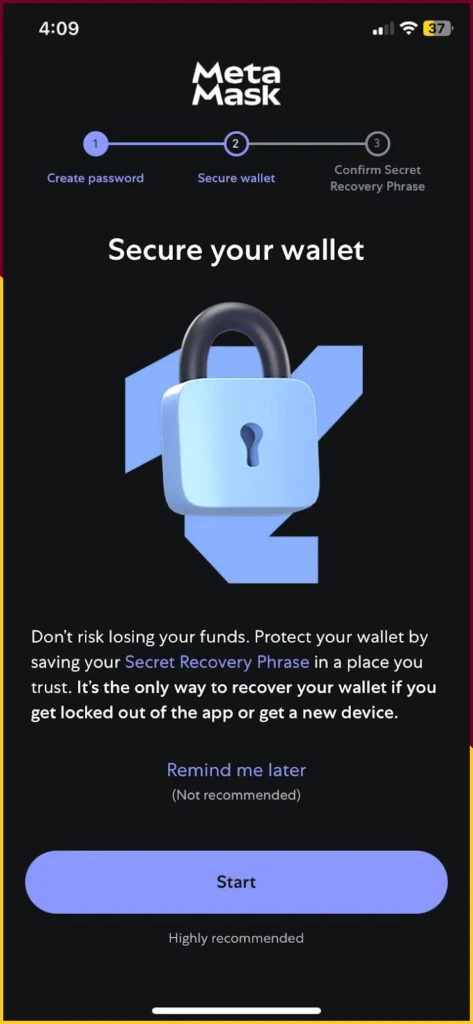
Next, take a paper and pen and write down the 12 word recovery phrase also called a seed phrase.

Now, simply type the missing words and click on Complete Backup
.
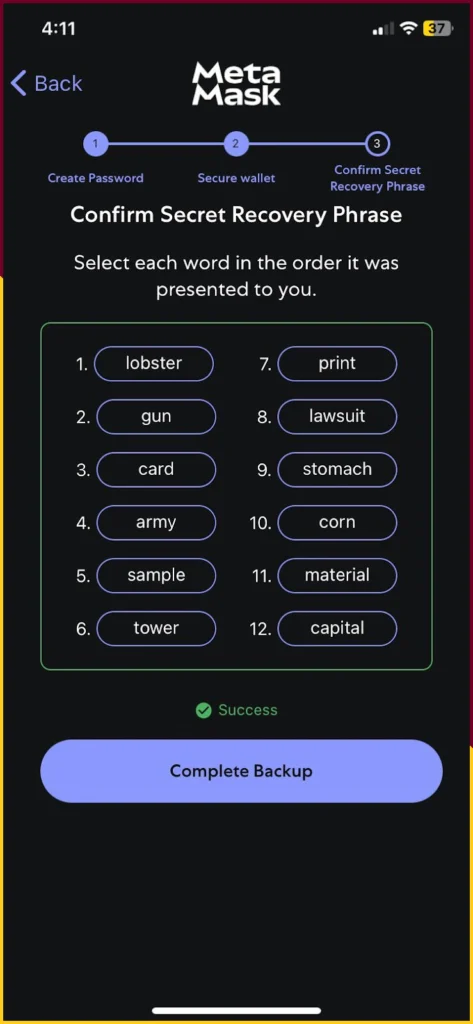
Congratulations, you have successfully created your MetaMask wallet on your iOS device.
How To Send & Receive ETH in MetaMask Wallet?
To deposit ETH in your MetaMask wallet, you can either receive funds (for example your salary, payments etc) or you can invest in ETH via a centralized and credible cryptocurrency exchange. Besides investing via a crypto exchange, you can also buy crypto through on-ramp services.
PS: All exchanges and on ramp crypto solutions levy a fee for buying and selling crypto. Additionally, you will also need an ID to do your KYC to stay compliant.
Please note that investing in cryptocurrencies has its own risks and you must always do your own research. Also, before you start investing in crypto ensure that your country has crypto regulations in place.
To receive crypto in your MetaMask wallet, all you have to do is copy the wallet address located on top of your wallet dialog box.
Simply click on Copy to clipboard to ensure you copy the entire address. Manually copying the address is not advised. Because if you miss any letter or number you will not receive crypto into your wallet and will be non recoverable.
Pro Tip: You can cross check MetaMask wallet address on Etherscan. Also, you can name the address in your wallet to manage payments seamlessly.

Tips & Best Practices To Follow While Using Self Custodial Crypto Wallets
- Diving into the crypto realm might feel overwhelming but it is not. By making sure that you double check all your seed phrases and passwords before writing it onto a paper for storing it.
- Second, make sure you use 2FA while transacting between crypto exchanges, third party crypto providers and your crypto wallet. This adds an added layer of security. Make sure that you whitelist new crypto addresses onto the crypto exchange you use.
- Besides storing your crypto into a self custodial wallet it is also important that you use your own WiFI instead of public networks as scammers can easily hop onto these networks and attack your wallet/ funds in exchange wallet/ portfolio.
- If you want to be a true pro and really secure your crypto assets then simply buy a cryptocurrency plate and use an engraver to write down your crypto wallet seed phrase. You might ask, ‘is it really worth the effort?’ Well, yes, if you are going to use crypto wallets it is better to engrave the words. This way even if the plate catches fire, or you drop it in a bucket of water, the seed phrase will remain intact. In the case of a paper, if you accidentally burn it or drop it in water, then you will lose access to your wallet entirely.
Congratulations, you now know how to use some features of MetaMask, but key features remain unexplored. Don’t worry, we’ll cover them in a future article; until then, stay empowered on your crypto journey!


