


If you are already on Binance and go about buying crypto, check prices, and move your funds, you are only doing the bare basics. Let me tell you there is an entire other world sitting inside the same app, and most beginners never touch it. The Binance Web3 Wallet is your direct gateway to decentralised finance, token swaps, NFT platforms, and blockchain applications, all without downloading a single extra app. This guide walks you through everything, from downloading the app to your first DApp interaction, step by step, with real screenshots at every stage.
What is the Binance Web3 Wallet?
The Binance Web3 Wallet, which is built into the Binance mobile app is a self-custody crypto wallet. You control your money when you have self-custody. The Web3 Wallet allows users to maintain complete control of their funds unlike the regular Binance exchange wallet, for which Binance holds your assets. Think of it like the difference between keeping your money in a bank versus keeping cash in your own safe.
What makes this wallet different from others like MetaMask or Phantom is its use of MPC technology, Multi-Party Computation. Instead of giving you a seed phrase (that long list of 12 or 24 words you have to memorise and never lose), the wallet splits your security key into three separate parts stored in different locations. Lose access to one, and you can still recover using the other two. No single point of failure.
The wallet supports more than 30 blockchain networks including BNB Chain, Ethereum, Bitcoin, Solana, Polygon, and more. You can swap thousands of tokens, earn yield, browse DApps, and move funds between your exchange account and the Web3 Wallet with a single tap, all inside one familiar interface.
Before You Begin, What You Need
Before you set up your wallet, make sure you have the following ready:
- A smartphone, Android or iOS
- The Binance app downloaded from Google Play Store or Apple App Store
- A verified Binance account (KYC-completed), you need this to use the swap feature
- Access to cloud storage, iCloud for iPhone, Google Drive for Android
- Access to your registered email, you will receive a verification code during setup
Pro tip: The Web3 Wallet is only available on the Binance mobile app, it is not accessible from the Binance desktop website. Make sure you are working from your phone throughout this guide.
Step 1: Download the Binance App
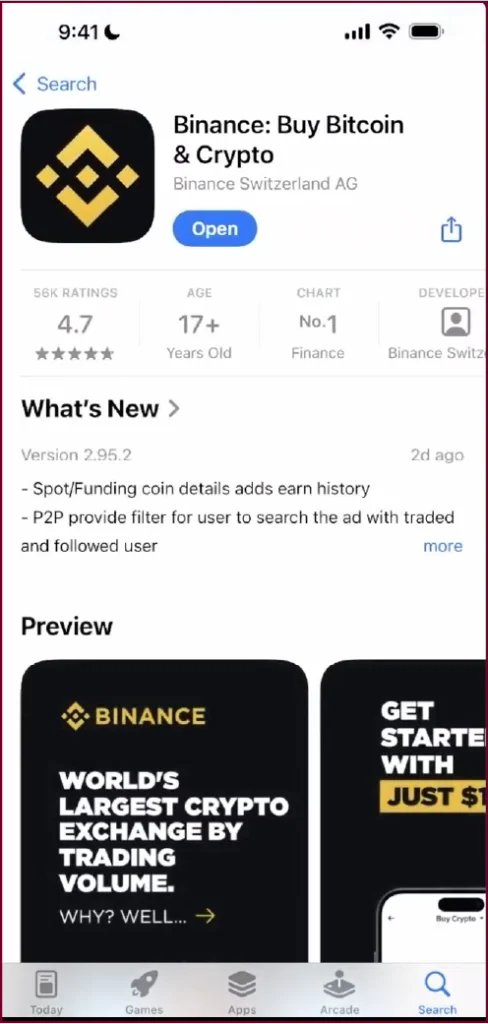
Open your device’s App Store (iPhone) or Google Play Store (Android) and search for ‘Binance’. Look for the official app, ‘Binance: Buy Bitcoin & Crypto’ by Binance Switzerland AG. It is rated No. 1 in Finance and has over 56,000 ratings. Tap Get or Install to download it.
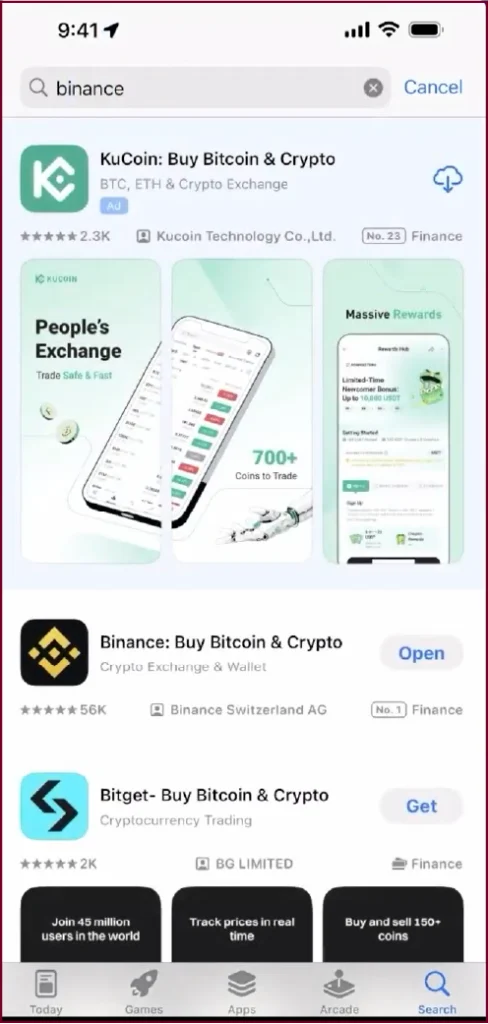
Important: Only download Binance from the official App Store or Google Play Store. Downloading fake apps from unsecured or third-party websites can disclose your login credentials which is harmful. Never do that.
Step 2: Open the App and Log In
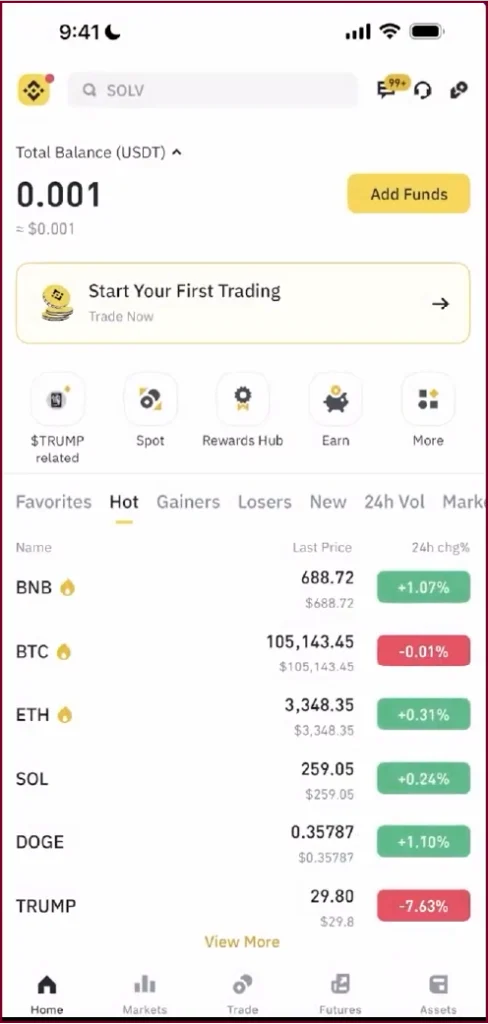
Launch the Binance app and log in to your account after installation. If you have not signed up yet click on the Sign-Up button and provide your email. KYC identity verification is needed to use all wallet functions. Once you log in to site, the balance would show on the homescreen; complete the KYC verification to access the trade screens.
Step 3: Navigate to the Binance Web3 Wallet
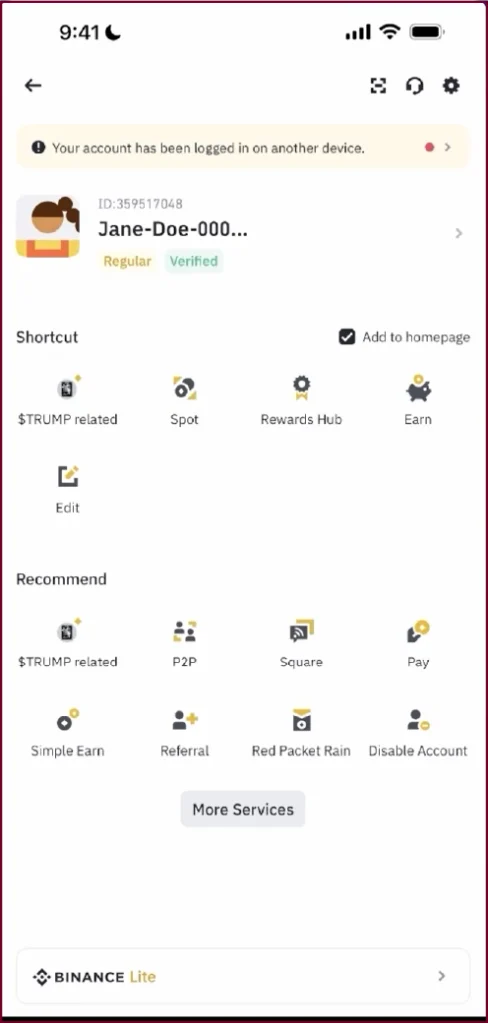
You can access the Web3 Wallet by tapping the profile icon on the top right of your home screen. This displays your account overview. To see all capabilities, scroll down and tap More Services.
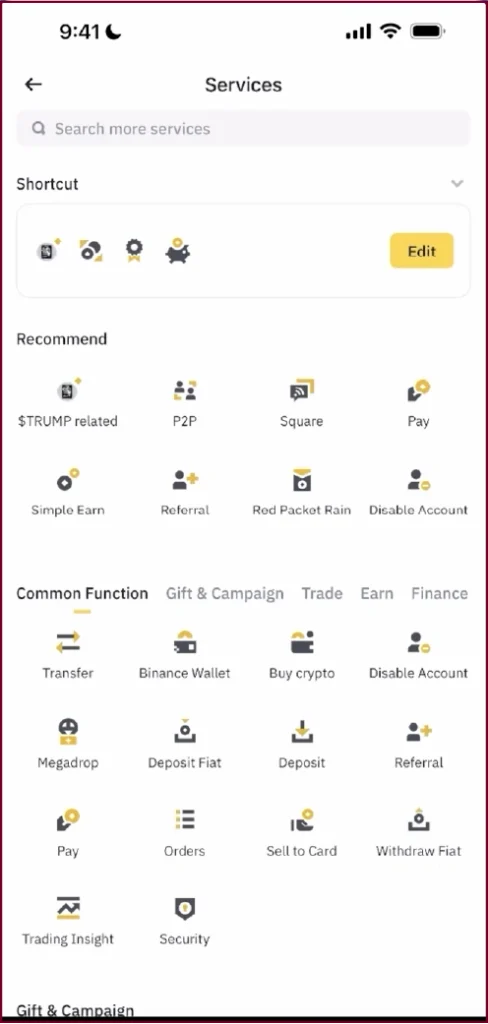
On the More Services screen, scroll through the list of features under Common Function. You will notice Binance Wallet appear there. Touch it to move ahead.
Step 4: Create Your Binance Web3 Wallet
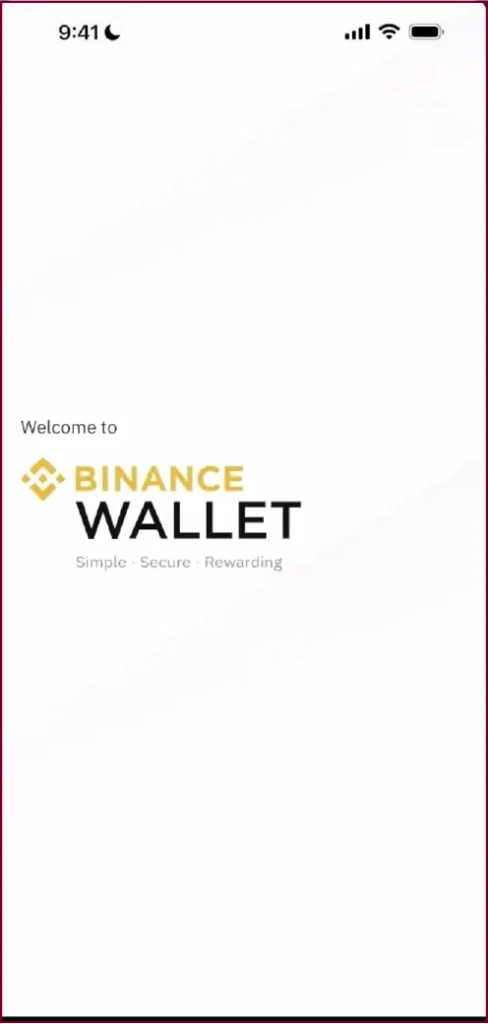
On clicking Binance Wallet, you will see the welcome screen. You are definitely at the right place. This cryptocurrency wallet enables the creation and importing of wallets. Since you are creating your wallet for the first time, you need to press Create Wallet.
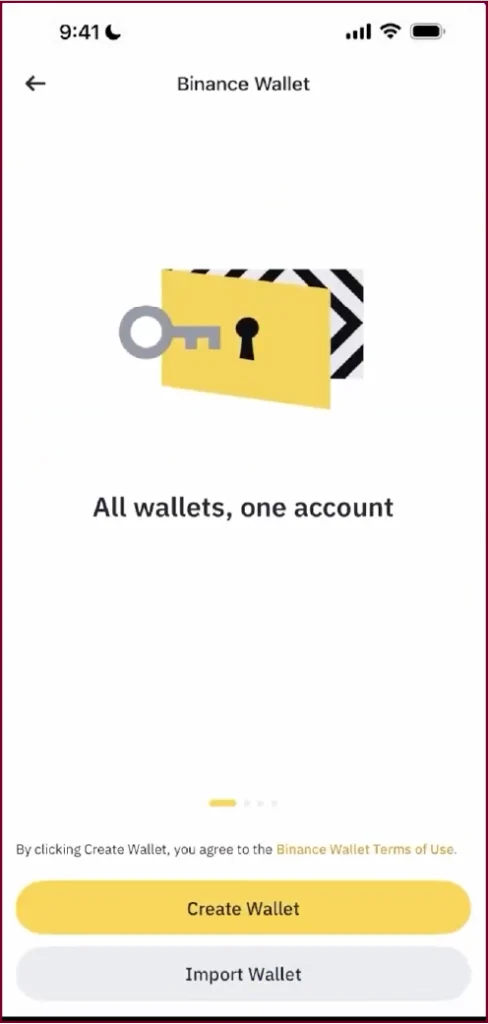
Your new wallet is capable of doing many things which are displayed on the next screen. You can discover trending assets and swap tokens. Again, tap on Create Wallet to confirm, and the application will start generating your wallet with MPC technology now.
Step 5: Complete Security Verification
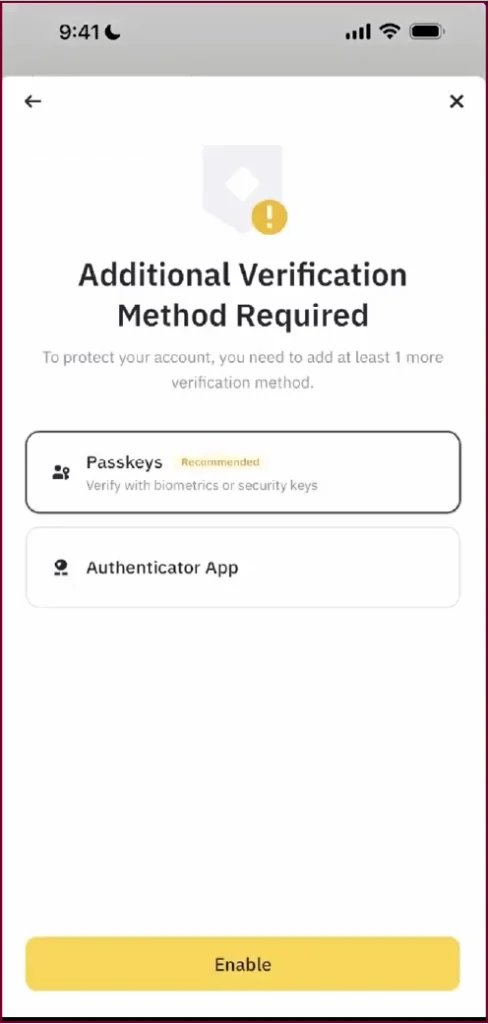
You will be asked to add another verifying method to secure your wallet after tapping on Create Wallet. You’ll have two options to select from – Passkeys, which is recommended and uses biometrics like Face ID or fingerprint or Authenticator App. Choose your desired method and press Enable.
A verification code will be emailed to you by Binance after that. Check your email for the code and enter it into the verification screen. Press Submit to proceed.
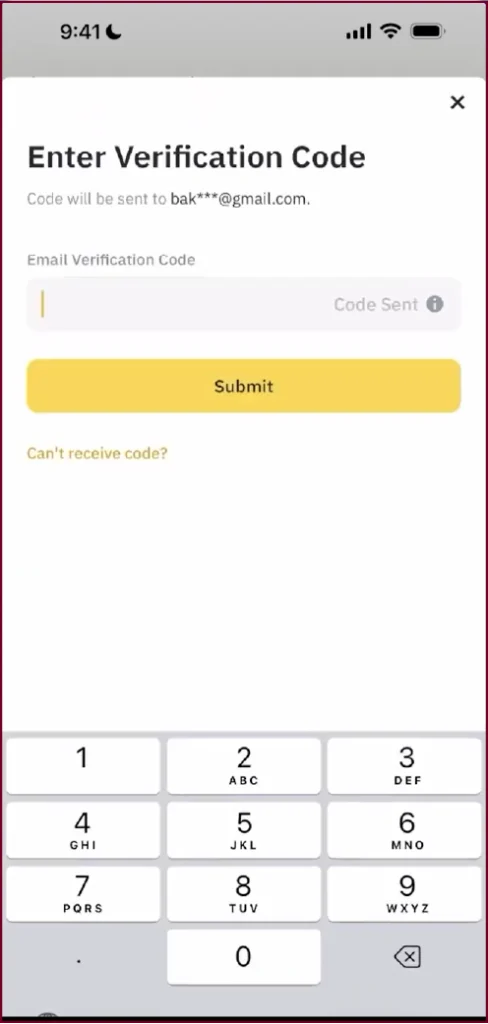
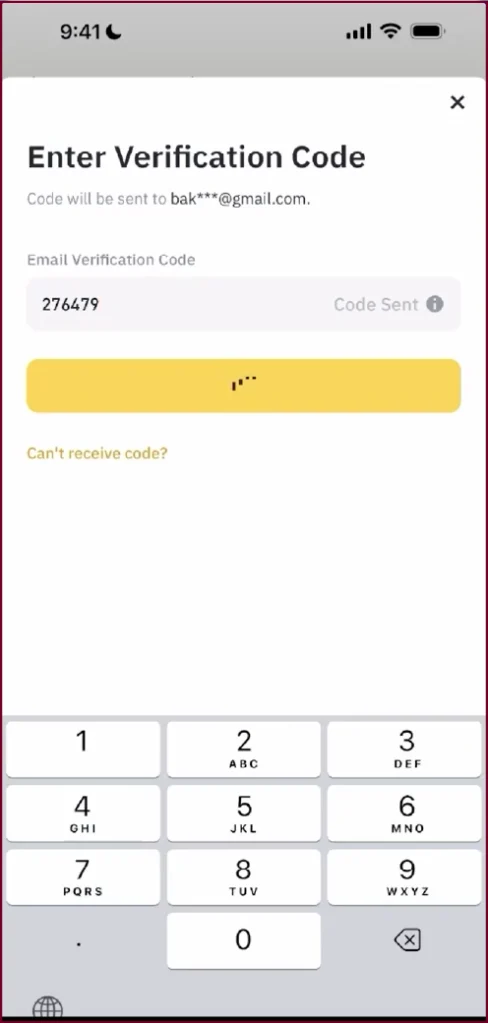
Pro tip: If you do not receive the code within 60 seconds, please check your junk or spam folder first. If you do not see it, tap Can’t receive code?to ask for a replacement on. Each code will be valid for a few minutes.
Step 6: Back Up Your Wallet, Do Not Skip This
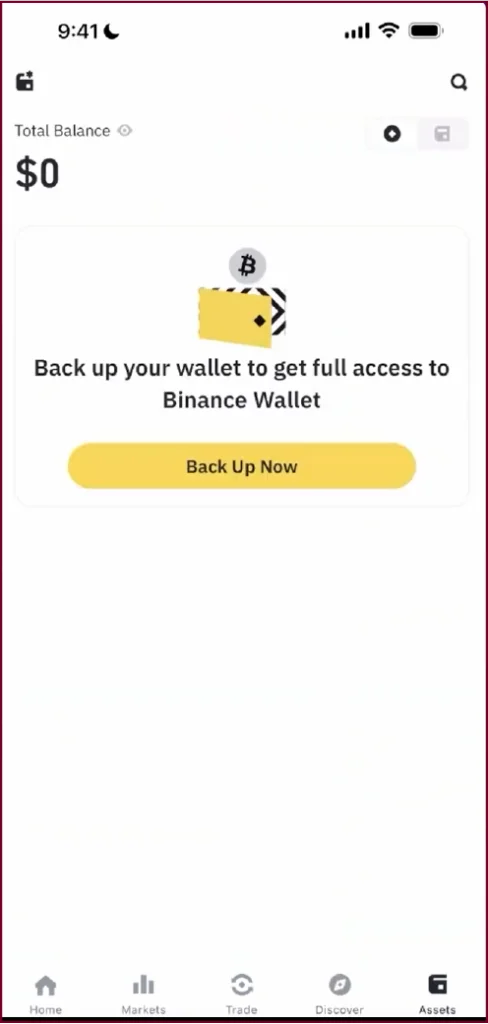
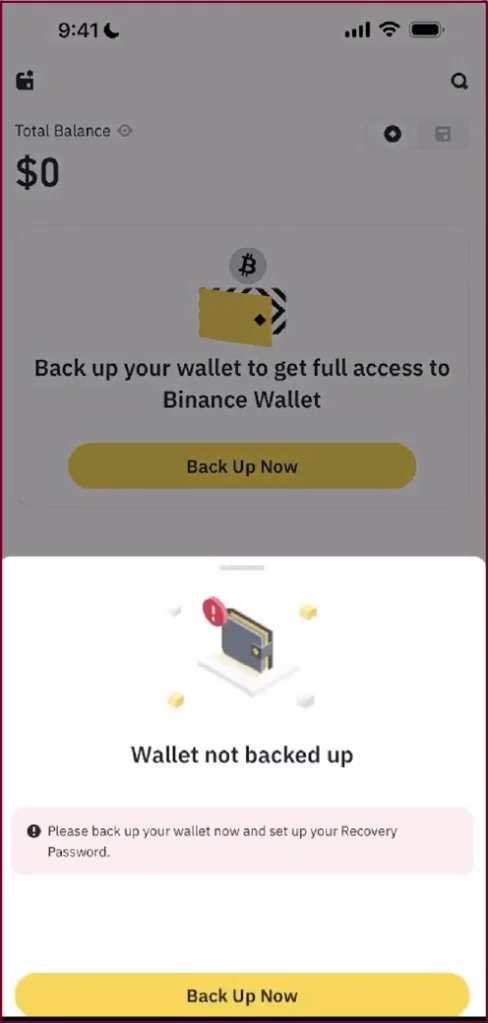
As soon as the app creates your wallet, it will ask you to back it up. You will see a screen showing your wallet balance at $0 with a clear message: ‘Back up your wallet to get full access to Binance Wallet.’ Tap Back Up Now.
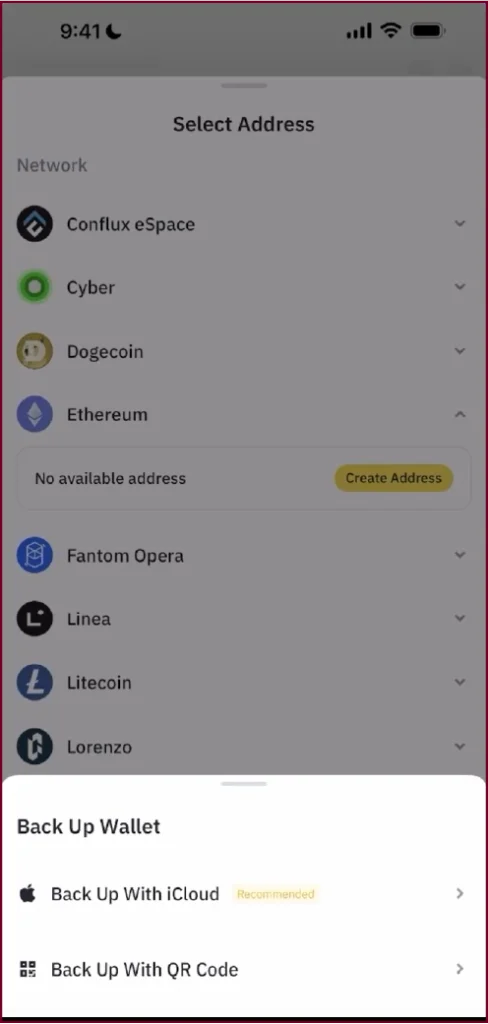
When you tap Back Up Now, you will see your wallet’s supported blockchain networks listed. Scroll to find the one you want to create an address for (for example, Ethereum or BNB Chain) and tap Create Address. This will trigger the backup flow.

The backup options will then appear at the bottom of your screen. You will see two choices: Back Up With iCloud (recommended for iPhone users) or Back Up With QR Code. Select the option that suits you.
Important: When backing up, you will be asked to set a Recovery Password. This password is known only to you, Binance cannot reset it and there is no ‘forgot password’ option. Write it down and store it offline in a physically secure place. Without it, you cannot recover your wallet if you lose access.
Here is how the MPC security model works once your backup is set up: your wallet key is split into three shares. Share 1 stays on your device. Share 2 is secured by your Binance account login. Share 3 is encrypted with your recovery password and stored in your cloud (iCloud or Google Drive). You only ever need two of the three to recover access, meaning no single loss can lock you out permanently.
Fun Fact: The Binance Web3 Wallet is one of the very few self-custody wallets in the world that offers 24/7 customer support. Traditional DeFi wallets like MetaMask leave you entirely on your own if something goes wrong.
Step 7: Add Funds to Your Web3 Wallet
Your wallet starts with a $0 balance. The easiest way to fund it is by receiving tokens directly from your Binance exchange balance. Tap the Receive button on your wallet home screen.
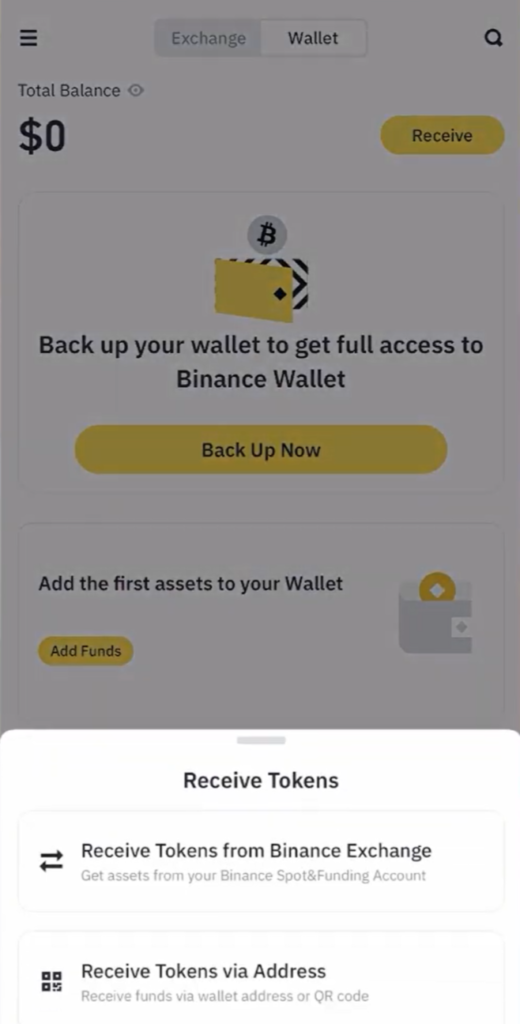
You will see two options: Receive Tokens from Binance Exchange (instant, no network fees between your own accounts) or Receive Tokens via Address (for transfers from external wallets or other exchanges). For most beginners, the first option is the fastest. Tap it, choose the token you want to transfer, for example USDT or BNB, enter the amount, and confirm.
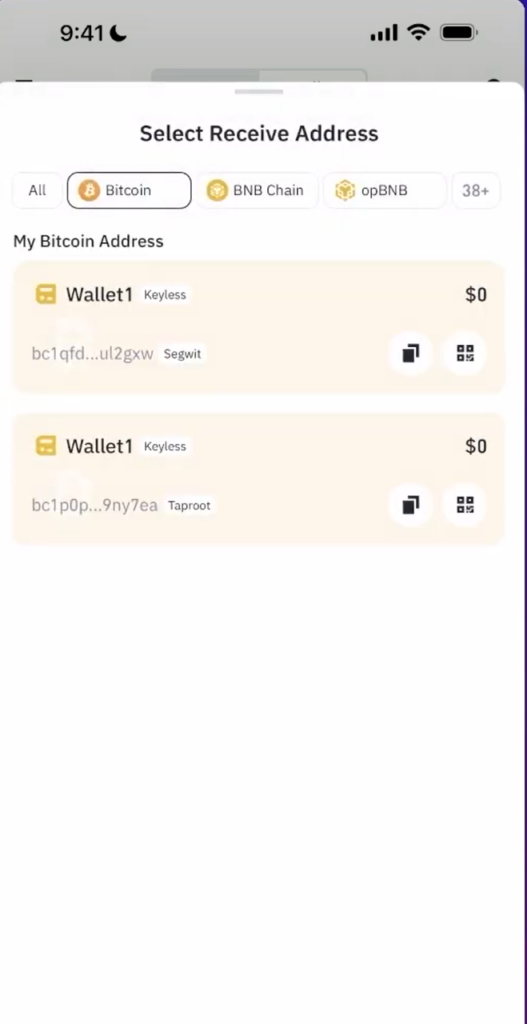
If you are receiving crypto from an external wallet, choose Receive Tokens via Address. The application will display your wallet addresses for each blockchain. Always double-check that the sender is on the correct network because sending BNB on the wrong network will lead to a failed or lost transaction.
Step 8: Explore DApps with the Built-In Browser
The Binance Web3 Wallet has many powerful features, one of which is a built-in DApp browser. Decentralised apps, or DApps, are smart contract-based blockchain apps. With the DEX PancakeSwap, Uniswap, lending Aave, NFT Market, staking apps, games, etc are part of that.
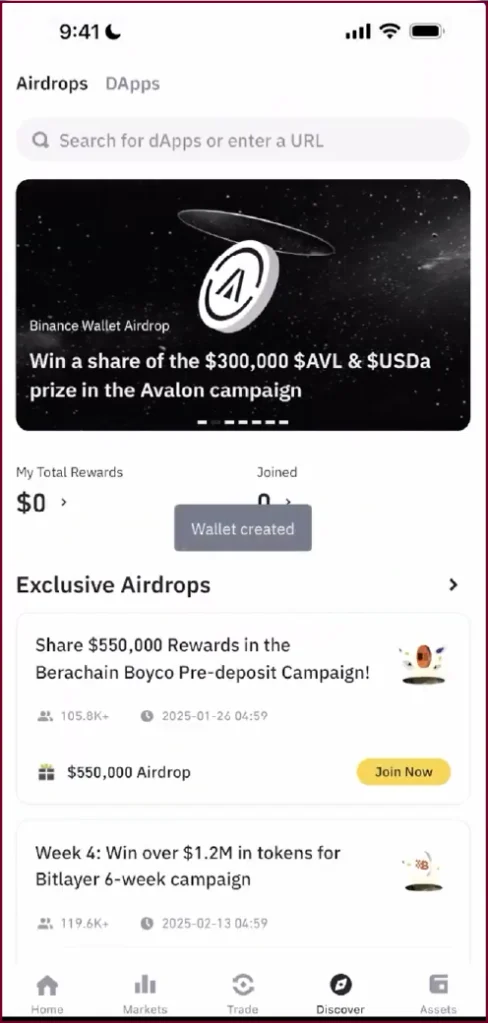
Tap the Discover tab at the bottom of the wallet screen. You will see two sub-tabs: Airdrops (campaigns where you can earn free tokens) and DApps (the browser for decentralised applications).
Tap DApps at the top of the screen. You can search for any DApp by entering its URL in the search bar, for example, pancakeswap.finance. Once the DApp loads, tap Connect Wallet in the top-right corner of the DApp interface, approve the connection request from your wallet, and you are in. Every transaction you make inside the DApp will trigger a confirmation prompt inside your wallet before it executes on-chain.
Important: Not every DApp is safe. Only connect to platforms you have researched and trust. Binance shows security warnings for potentially dangerous contracts, but you should always check the URL before connecting. Entering the wrong character in a web address can take you to a phishing site which can empty your wallet.
Step 9: Swap Tokens Inside the Wallet
The Binance Web3 Wallet excels in the area of token swapping. This app provides an option to swap one cryptocurrency for another on different blockchains. Multiple DEX is just one of the liquidity sources it will check instantly to get you the best rate.
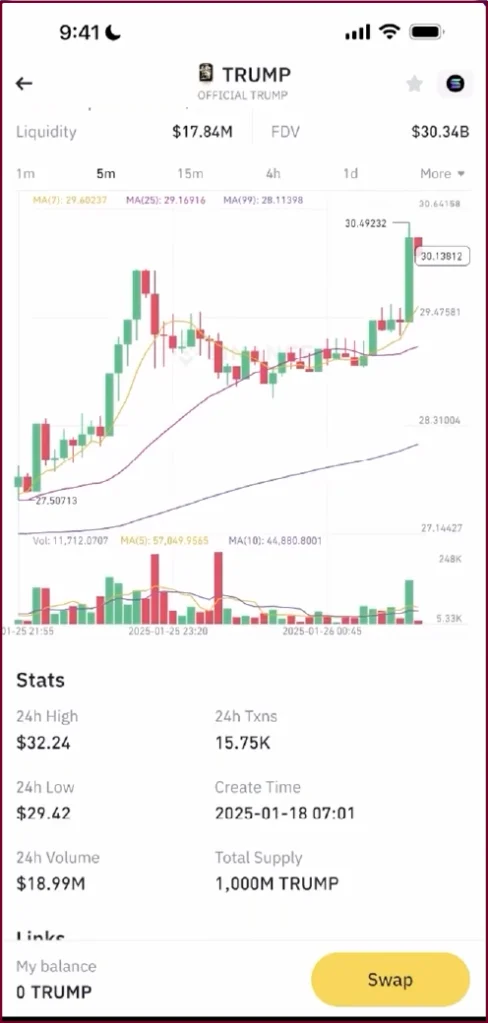
To swap, tap the Trade tab inside the wallet, select Swap, choose the token you are swapping From and the token you want To, pick your networks, review the rate and fees, and confirm. You can even do cross-chain swaps, for example, BNB on BNB Smart Chain to USDT on Ethereum.
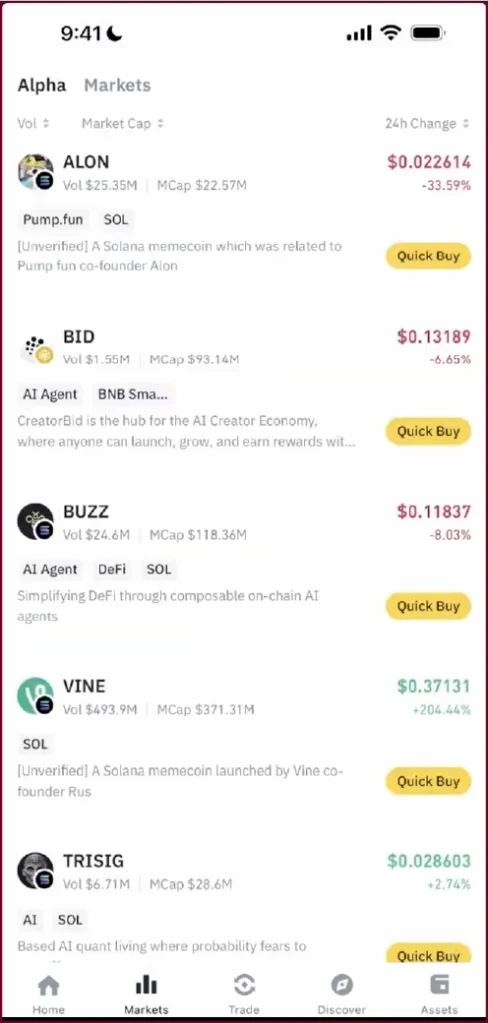
The wallet also integrates directly with the Alpha Markets section, where you can discover trending on-chain tokens, view live price charts, and tap Quick Buy to purchase tokens directly. This is useful for finding early-stage tokens across chains like Solana and BNB Smart Chain.
Pro tip: Before confirming any swap, check the slippage tolerance. For stable pairs like USDT to USDC the 0.1% is ok. For newer and smaller tokens, 1-2% is safer. A greater level of slippage tolerance for your trading would mean getting your swap through, even if you get less than expected.
How to Keep Your Binance Web3 Wallet Safe
Your self-custody wallet is as safe as your behaviour. The technical shield created by the MPC system protects you. But human error is the biggest risk in crypto. Follow these rules:
- Never share your recovery password with anyone, not even someone claiming to be Binance support. Binance cannot reset it, and no legitimate agent will ever ask for it.
- Store your recovery password offline, written on paper, kept in a safe or locked drawer. Not in your email, notes app, or a screenshot.
- Enable biometric authentication (Face ID or fingerprint) during setup to add a physical lock on top of your password.
- Review and revoke DApp permissions regularly, go to Security Center inside the wallet and remove approvals you no longer use. Infinite token approvals are a common exploit vector.
- Always verify DApp URLs before connecting; phishing sites look pixel-perfect, and one character difference in the address can mean your wallet gets drained.
- Keep the Binance app updated; security patches are pushed regularly and running an outdated version leaves you exposed.
Concluding Remarks
The Binance Web3 Wallet is one of the easiest entry points into self-custody crypto for any beginner. It removes the most stressful barrier in DeFi, the seed phrase, while still giving you full control over your assets. The setup takes minutes, the interface is clean, and having swaps, DApps, airdrop campaigns, and earn tools all in one familiar app removes enormous friction. Now that your wallet is set up and funded, the decentralised web is yours to explore. Start small, move carefully, and always research before connecting to any new DApp or protocol.


